Picture this: you flip the switch and a steady, clean stream of air sweeps through your living room, exactly the way you want it. No guessing, no waiting for a contractor’s calendar—just you, the right tools, and a system that works like a charm.
Irving’s hot summers and brisk winters demand a setup that can handle extremes without breaking the bank. Whether you’re swapping out an old unit or installing a brand‑new system, the right know‑how can save you time, money, and a lot of headaches.
We’ve broken down every step, from sizing the perfect unit to sealing those critical duct connections, so you can tackle the job with confidence. Ready to roll up your sleeves and get the job done right? Keep reading and we’ll walk you through each phase, no fluff, just solid advice.
Assessing Your Home’s HVAC Needs: Load Calculations & System Sizing
Why a Load Calculation Matters
Before you even think about picking a unit, you need to know how much heating and cooling your Irving home actually demands. A proper load calculation prevents you from buying a monster that guzzles power or a tiny unit that never reaches the setpoint.
Getting it right means:
- Comfort that stays consistent from the hottest July afternoon to the chilliest December night.
- Lower utility bills because the system runs only when it’s needed.
- Longer equipment life – less wear and tear from constant short‑cycling.
Doing the Math Yourself
DIYers can tackle a solid estimate with the Manual J method or a reputable online calculator. Gather these data points:
- Square footage of each conditioned space.
- Ceiling height (most homes are 8‑9 ft, but attics or vaulted ceilings add load).
- Window size, type, and orientation – south‑facing glass adds heat in summer.
- Insulation R‑value and wall construction.
- Typical occupancy and appliance heat gain.
Plug the numbers in, and you’ll get a BTU (British Thermal Unit) figure that tells you the exact capacity you need.
Sizing the Right System
Once you have the BTU demand, match it to a unit that’s within ±10 % of that number. Oversizing leads to short‑cycling, humidity problems, and wasted money; undersizing means you’ll be stuck tweaking the thermostat all day.
Don’t forget to check the SEER (Seasonal Energy Efficiency Ratio) for cooling and HSPF (Heating Seasonal Performance Factor) for heating. Higher ratings cost more upfront but pay off in Irving’s swing‑season climate.
Selecting the Ideal HVAC System for Irving’s Climate
Understanding Irving’s Weather Patterns
Irving bounces between scorching 100°F summers and chilly 30°F winters, so you need a unit that can handle both ends of the spectrum without breaking a sweat. Look for a system with a high SEER rating for cooling and a solid HSPF rating for heating – that’s the sweet spot for energy‑wise performance.
Choosing the Right System Type
Not every HVAC setup fits every house. Match the system to your home’s layout, budget, and comfort goals.
- Central Air Conditioner + Furnace – classic combo, great for homes with existing ductwork.
- Heat Pump – pulls heat from the outside in winter, pushes it out in summer; perfect for moderate winters.
- Ductless Mini‑Split – ideal for additions or homes without ducts; offers zone control.
- Hybrid (Electric + Gas) – flips between power sources to keep bills low.
Key Features to Look For
When you’re scanning product specs, keep an eye on these game‑changers.
- Variable‑speed blower – smooth temperature swings, quieter operation.
- Smart thermostat compatibility – lets you fine‑tune comfort from your phone.
- Corrosion‑resistant coils – Irving’s humidity can be a beast; rust‑proof parts last longer.
- Warranty length – a solid 10‑year parts warranty signals confidence from the manufacturer.
Gathering Tools, Materials, and Safety Gear
Essential Hand Tools
Before you crack open the box, line up the basics: a torque wrench, a set of insulated screwdrivers, and a sturdy pipe cutter. These aren’t optional—they keep the job moving and the bolts tight.
Don’t forget a digital multimeter for checking voltage, and a flexible duct snake for those tight bends. A good flashlight with a red filter saves your night vision when you’re under the unit.
Materials You’ll Need
Stock up on the right size copper tubing, pre‑insulated duct sections, and a high‑efficiency filter that matches your system’s MERV rating. A pair of brass flare nuts and a few lengths of PVC conduit will seal the electrical side.
Grab a roll of foil‑backed duct tape, a handful of HVAC‑grade sealant, and a set of mounting brackets sized for the outdoor condenser. Quality matters—cheap tape leaks air faster than a busted window.
Safety Gear – Don’t Skip It
Protect your eyes with safety glasses and your lungs with a respirator rated for dust and fiberglass. Heavy‑duty gloves with a good grip prevent nasty cuts when you’re handling sharp pipe ends.
Finally, wear steel‑toe boots and a hard hat if you’re working on a roof deck. A fall is a lot cheaper than a broken back, and the right gear keeps you on your feet.
Step‑by‑Step Installation: From Ductwork to Outdoor Unit
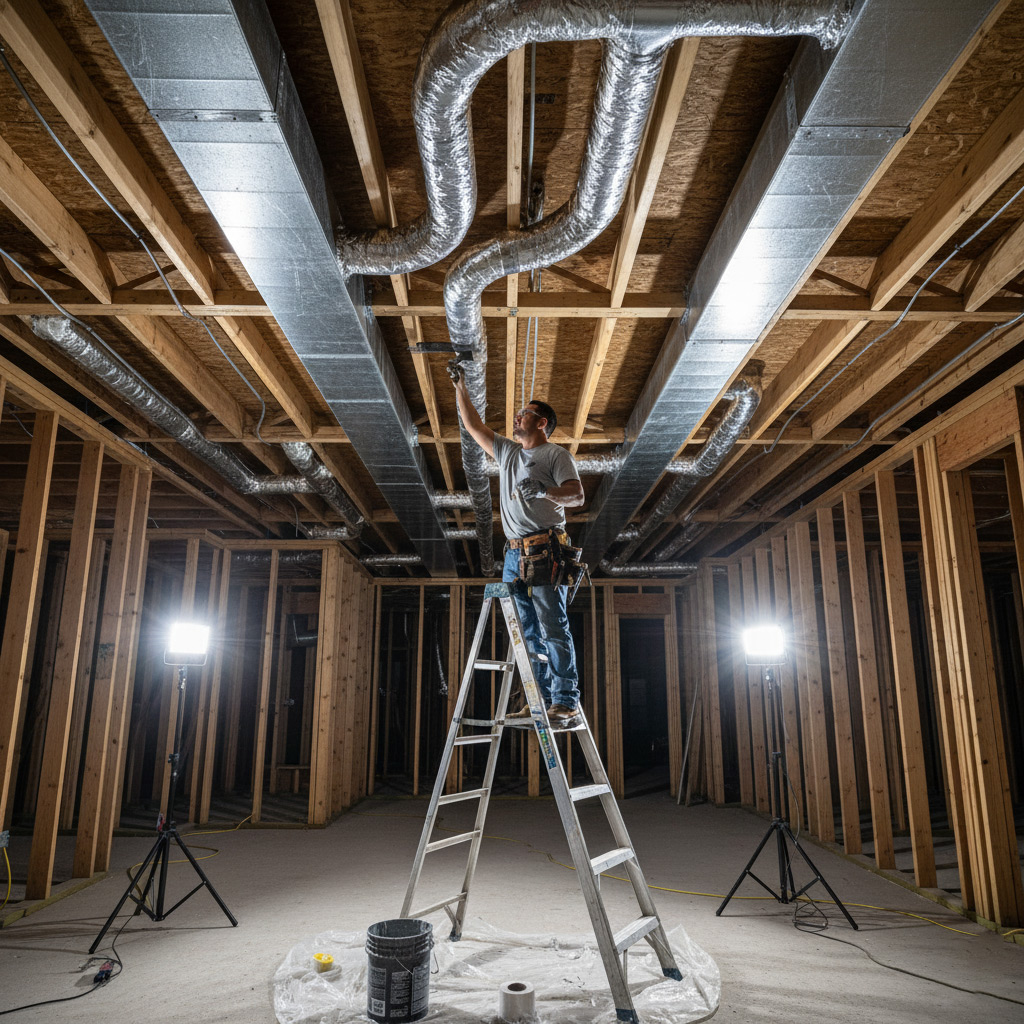
1. Prep the Ductwork
Start by laying out the main supply and return runs. Measure twice, cut once—a ¼‑inch mis‑fit can cause leaks that waste energy.
Secure each duct segment with galvanized clamps and a few screws. For tight turns, use flexible duct and a duct sealant tape that resists heat.
- Mark the location of each register before you cut.
- Check for obstructions in the attic or crawl space.
- Seal every joint with mastic, not cheap foil tape.
2. Mount the Indoor Coil and Connect the Refrigerant Lines
Position the evaporator coil on the prepared plenum. Use a level; a crooked coil will strain the blower motor.
Attach the copper refrigerant lines with flare fittings. Tighten with a torque wrench—over‑tightening can crack the tubing.
- Wrap each line in insulation to prevent condensation.
- Leave a ½‑inch slack for future service.
- Install a shut‑off valve on the liquid line for easy maintenance.
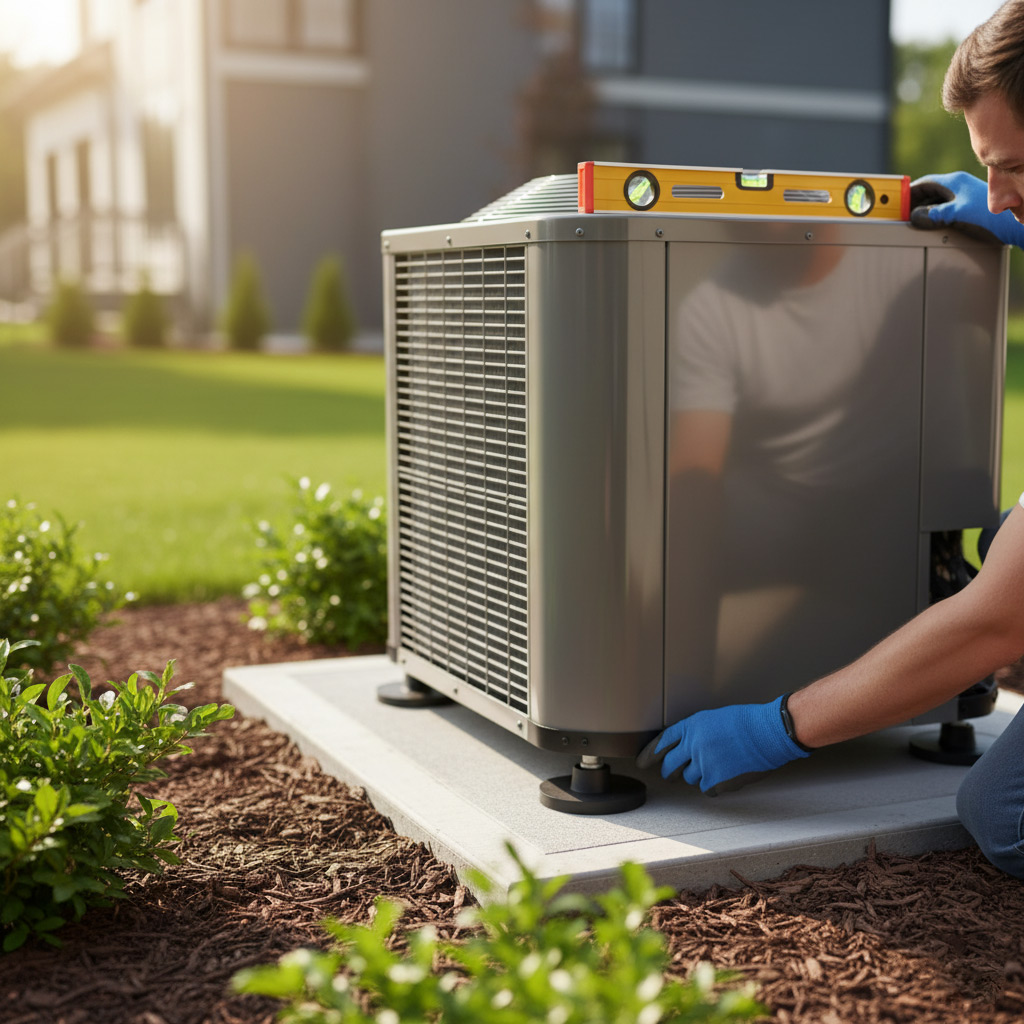
3. Set Up the Outdoor Condenser
Place the condenser on a concrete pad with at least 24 inches of clearance on all sides. This gives airflow and keeps the unit off the ground.
Connect the refrigerant lines, making sure the liquid line is on the low‑side and the suction line on the high‑side. Tighten the flare nuts, then vacuum the system with a recovery machine.
- Run a dedicated 240‑V circuit from the breaker panel.
- Secure the unit with anchor bolts to resist wind uplift.
- Check the fan blade for balance before powering up.
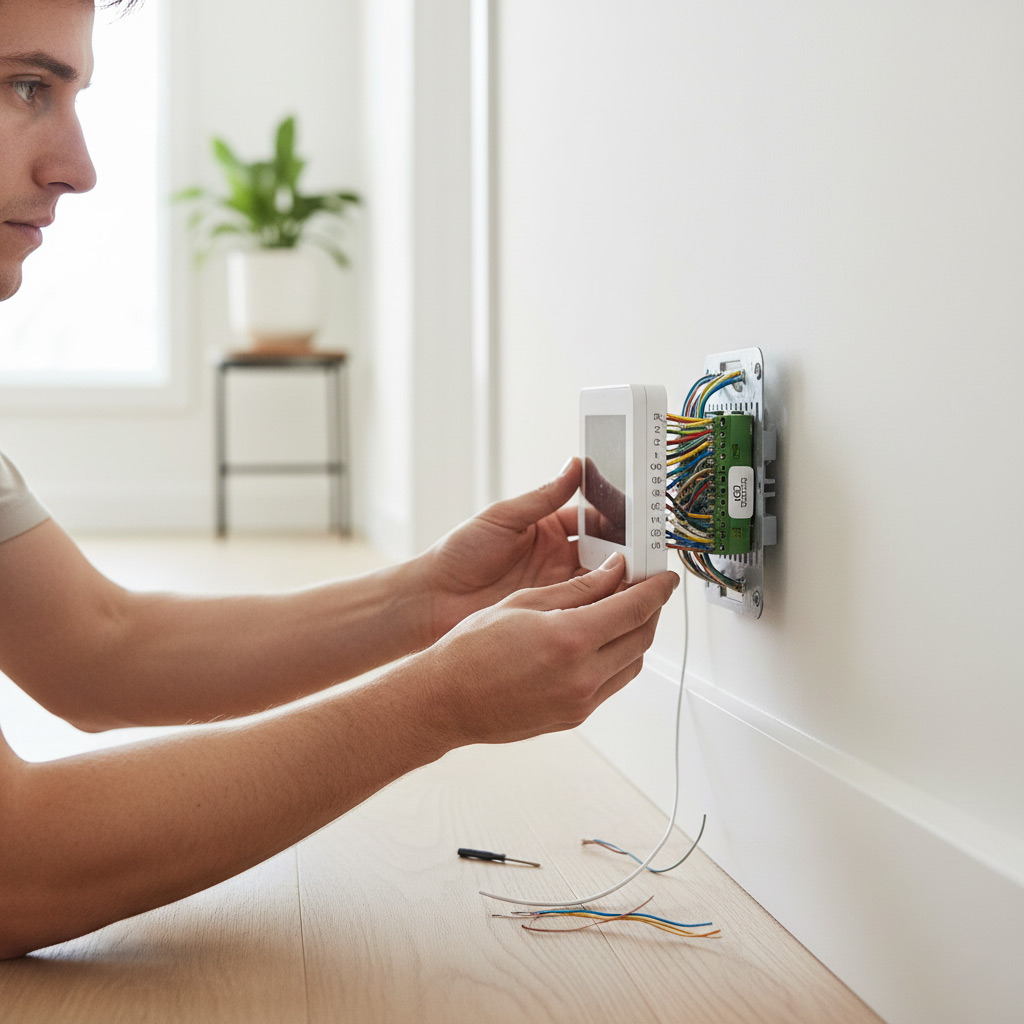
4. Wire the Thermostat and Finish the Job
Run low‑voltage wire from the thermostat to the air handler. Label each wire—red for power, white for heat, green for fan.
Turn the power back on, set the thermostat to “off,” then watch the pressure gauges. If they’re in spec, you’re ready to call it a day.
Proper Sealing, Insulation, and Airflow Balancing
Seal every gap before you call it done
Every tiny crack in your ductwork is a free ticket for conditioned air to escape. Grab foil‑rated tape and a bead of mastic, then wrap joints like you’re bandaging a wound—overlap the tape, then smooth the mastic so it stays flexible when the system heats up.
Wrap it up with the right insulation
Irving’s swing from scorching summer to brisk winter means you need solid R‑value on every supply line. Slip a 1‑inch fiberglass blanket over the ducts, secure it with zip ties, and don’t forget the return plenum—miss one spot and you’ll lose up to 15 % efficiency.
Fine‑tune the airflow for peak performance
With everything sealed and insulated, it’s time to balance the breath of the house. Open each register a notch, then use a handheld anemometer to check CFM, adjusting the main trunk dampers until each room reads within 10 % of the design flow.
- Close off any “ghost” vents that feed unused spaces; this raises pressure where you need it.
- Run the fan for 15 minutes, re‑measure, and repeat until the numbers settle.
Case Study: DIY Installation Success in a Typical Irving Home
Background
John, a 42‑year‑old electrician from Irving, decided to replace his aging 12‑year‑old split‑system after the thermostat started flashing error codes. He measured his home’s square footage, ran a quick load calculation, and settled on a 3‑ton, SEER 16 unit that matched the local climate demands.
He bought the kit from a reputable dealer, grabbed his toolbox, and set a deadline: finish before the next heat wave hit in July.
Key Actions
John followed a disciplined checklist, which kept the project moving without a hitch:
- Prep the site: cleared the area, turned off power, and sealed the old unit’s refrigerant lines.
- Install the indoor coil: hung the plenum, connected the drain line, and verified the refrigerant charge with a gauge set.
- Run new ductwork: used insulated flex ducts, taped seams, and added a simple damper for bedroom control.
- Mounted the outdoor condenser on a pre‑leveled pad, secured the electrical conduit, and double‑checked the clearance requirements.
- Performed a full system test: measured airflow, checked for leaks, and programmed the thermostat.
Results
Within 48 hours, John’s home was cooling at 15 °F below the outdoor temperature on a 95 °F day. Energy bills dropped 22 % compared to the previous year’s summer average. He also avoided a $2,500 contractor fee, proving that a well‑planned DIY can be both safe and cost‑effective.
Final Words
Before you fire up that new system, double‑check every connection. A loose clamp or an unsealed duct can turn a proud DIY win into a costly repair later. Take a minute to run the blower, listen for rattles, and feel for leaks with your hand.
Quick sanity‑check checklist
- All electrical wires are capped and secured.
- Refrigerant lines are insulated and properly brazed.
- Thermostat is calibrated to the correct mode.
- Outdoor unit sits level on a vibration‑isolating pad.
Once everything passes, give yourself a pat on the back. You’ve just saved yourself hundreds in labor fees and learned a skill that pays dividends every season. If you ever hit a snag—like a stubborn leak or a clogged drain—our team is just a click away. Check out our HVAC installation services for fast, professional help.
People Also Ask
What size HVAC system is right for a typical Irving, TX home?
A properly sized system is determined by a Manual J load calculation, which accounts for square footage, insulation levels, window orientation, and local climate. In Irving, most single‑family homes fall between 3‑5 tons, but the exact size should be confirmed by the calculation.Do I need a permit to install an HVAC system in Irving?
Yes, Irving requires a mechanical permit for new installations or major replacements, and the work must be inspected for code compliance. Check the City of Irving Building Services website or contact a local HVAC contractor for the specific permit process.Can I install the outdoor condenser unit myself?
While the condenser can be placed by a DIYer, it must be mounted on a level, vibration‑isolated pad and connected to proper refrigerant lines and electrical service. Because refrigerant handling requires EPA certification, a licensed technician must complete the charge and final hookup.What safety gear should I wear during HVAC installation?
Wear insulated gloves, safety glasses, a hard hat, and a dust‑mask or respirator when cutting ductwork or handling insulation. Additionally, use lockout/tagout procedures on electrical circuits to prevent accidental energization.How do I balance airflow after installing new ductwork?
After the system is running, adjust each room’s supply registers to achieve even temperature distribution, then use a manometer or digital airflow meter to verify that each branch meets the design airflow rates. Fine‑tuning may require trimming or adding balancing dampers.Irving HVAC brings over 15 years of residential and commercial climate‑control expertise to the Irving community. Their team of certified technicians delivers reliable heating, cooling, and indoor‑air‑quality solutions tailored to local needs. Committed to responsive service, Irving HVAC ensures comfort and efficiency for homes and businesses throughout the area.
Need HVAC?
We provide fast, reliable HVAC service to residential and commercial customers in Irving, TX (75014, 75015, 75016, 75038, 75039), completing installations and repairs within hours to keep your space comfortable. Our technicians arrive on schedule and finish the job efficiently, so you can get back to daily life without delay.
Get a Quick Quote