Ever wonder why your AC coughs and quits on the sweltering July afternoon while the house next door stays frosty? The difference isn’t luck—it’s what’s happening behind the walls, and most homeowners never see it.
In Irving, the heat can be relentless, and a tiny mis‑step in your system’s setup can turn a comfortable night into a sweaty nightmare. That’s why a thorough HVAC test and inspection isn’t a luxury; it’s the lifeline that keeps your family cool and your energy bills honest.
We’ve gathered the exact playbook the top technicians use—things they never shout about on a sales flyer. From the hidden clues a seasoned inspector spots to the quick fixes that save you hundreds, these are the secrets that keep systems humming year after year.
Stick around and we’ll pull back the curtain on the exact steps the pros use to keep Irving homes breathing easy.
Understanding the Core Components of an HVAC System in Irving
Before you can spot a problem, you need to know what you’re looking at. In an Irving home, the HVAC system is a team of four main players: the furnace or heat pump, the air‑conditioner, the ductwork, and the thermostat. Each one has a job, and when one drops the ball, the whole crew feels the heat.
The Furnace or Heat Pump
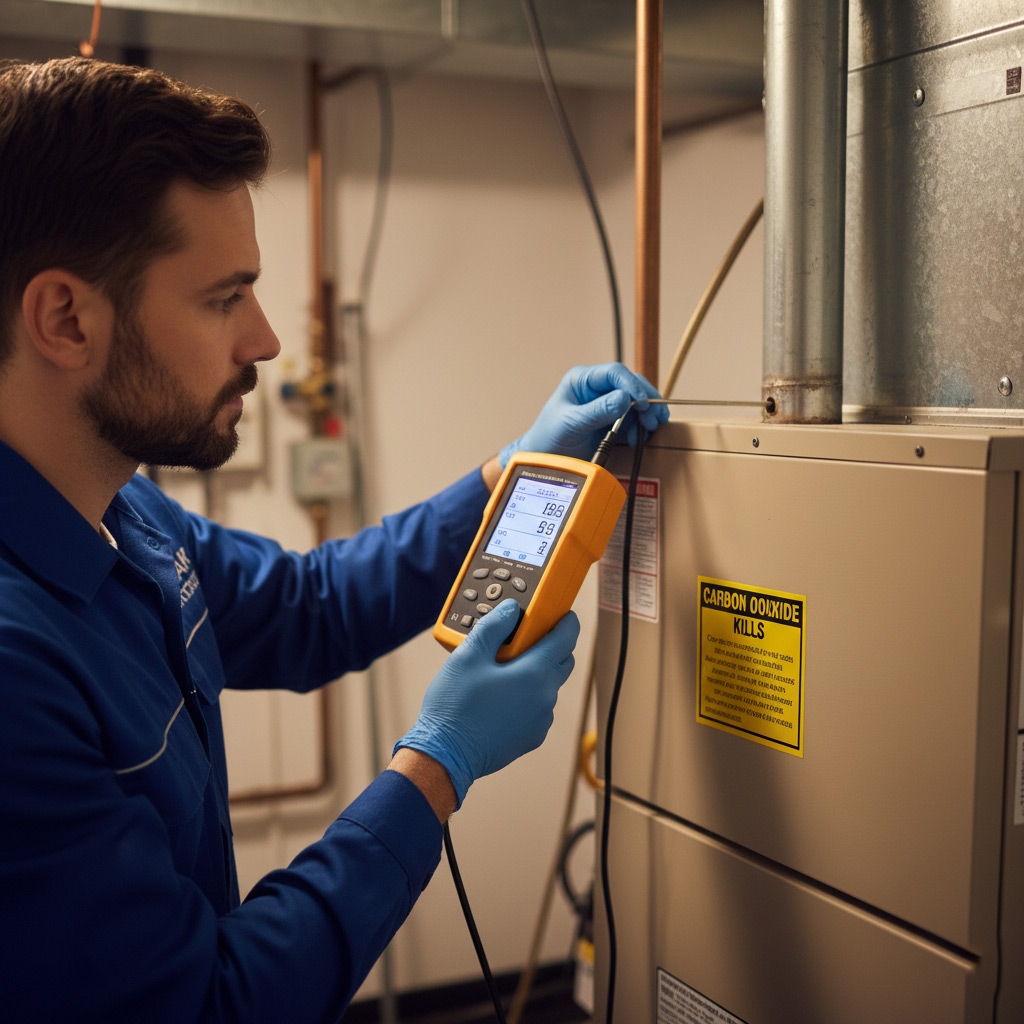
This is the powerhouse that kicks out warm air when the mercury dips. It contains a burner, a heat exchanger, and a blower motor that pushes the heated air through the ducts. Keep an eye on the heat exchanger—cracks there can turn a cozy night into a safety hazard.
The Air‑Conditioner
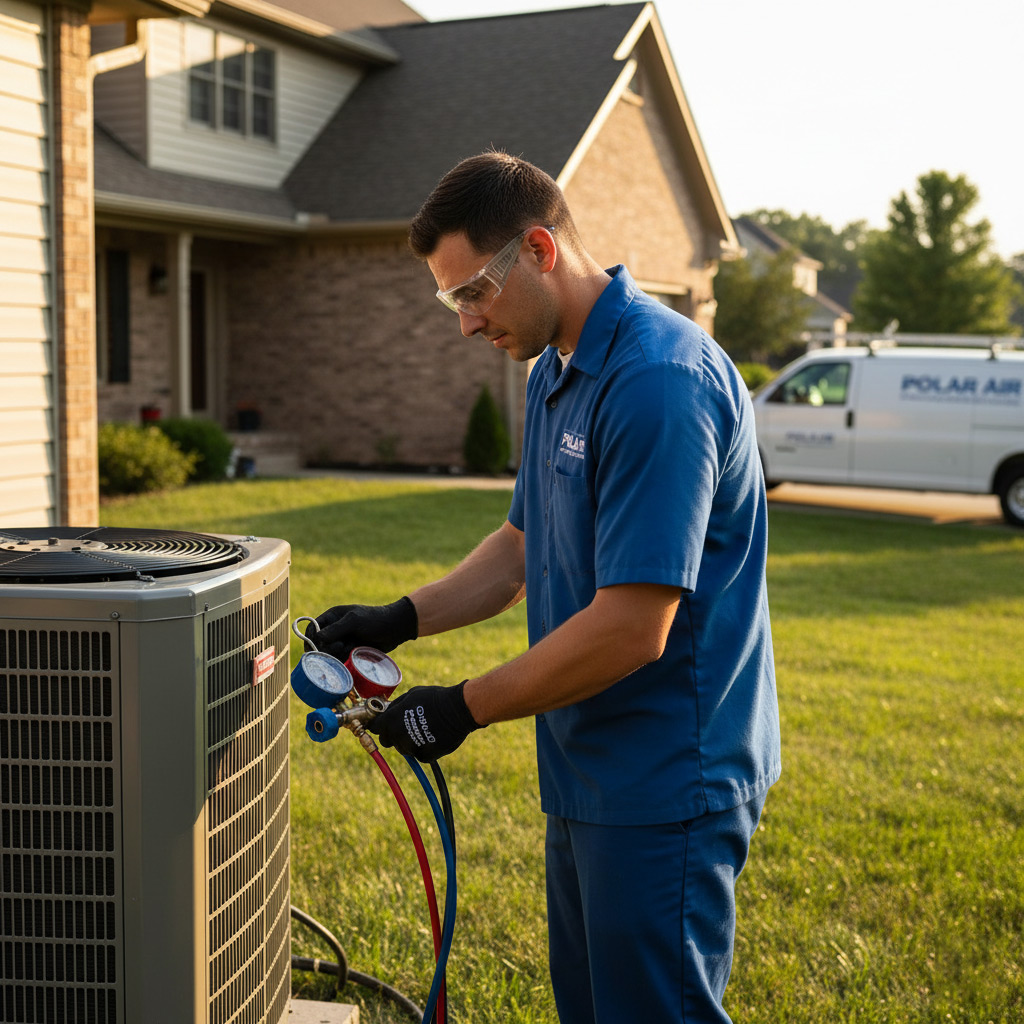
The AC’s job is to pull heat out of your house and dump it outside. It’s made up of a compressor, condenser coil, evaporator coil, and a refrigerant line. Low refrigerant or a dirty coil will make the unit work harder, spiking your electric bill.
Ductwork & Thermostat
Think of ducts as the highway for conditioned air. Leaks, loose connections, or poor insulation are the silent thieves that steal comfort and money. The thermostat is the brain—if it’s outdated or miscalibrated, you’ll be chasing the wrong temperature all day.
- Burner – ignites fuel for heat.
- Heat exchanger – transfers heat to the air.
- Compressor – pressurizes refrigerant.
- Condenser coil – releases heat outdoors.
- Evaporator coil – absorbs indoor heat.
- Ducts – deliver air to every room.
- Thermostat – tells the system when to heat or cool.
The Step‑by‑Step HVAC Testing Process Every Homeowner Should Know
First, the tech makes sure the unit is actually getting power and that the thermostat is set to “cool.” They shut the system down for a minute, then flip the breaker back on. This quick reset can wipe out hidden error codes that would otherwise confuse the rest of the test.
Pressure & Leak Check
Next, gauges are clipped onto the low‑ and high‑side lines. The numbers are watched like a hawk; anything outside the manufacturer’s range screams trouble. A hiss or a sudden drop in pressure? That’s a leak begging to be sealed.
- High pressure – overcharged refrigerant, wasteful run‑time.
- Low pressure – undercharged, weak cooling power.
- Audible hissing – probable leak, fix it before it spreads.
Last step: airflow verification. A handheld anemometer measures CFM at each vent, and even a half‑inch of dirty duct can shave off 20% of efficiency. The inspector notes any imbalance and will tell you on the spot whether you need a filter change, duct seal, or a bigger fix.
Hidden Red Flags: What Inspectors Look for Beyond the Surface
Coils That Hide Their Age
Even a brand‑new looking coil can be a ticking time bomb if it’s coated with grime or has a subtle corrosion pattern. Inspectors run a quick visual sweep, then feel the metal for “cold spots” that signal restricted heat transfer.
- Rust streaks along the fins – a sign the unit has been exposed to moisture for too long.
- Uneven buildup of dust – indicates the blower isn’t pulling air evenly.
- Missing or bent fins – can cause airflow turbulence and higher energy use.
Electrical Secrets Under the Cover
Most homeowners never open the service panel, but a seasoned tech knows that a loose wire or a scorched terminal is a red flag louder than any weird noise. They check for proper torque on connections and look for any discoloration that hints at overheating.
- Loose terminal screws – can cause intermittent power loss.
- Discolored wiring insulation – a warning sign of excess heat.
- Old or mismatched capacitors – they’ll fail faster in Irving’s heat.
Airflow Anomalies You Can’t See
Airflow is the lifeblood of any HVAC system, yet it’s invisible until you measure it. Inspectors use a handheld anemometer to spot drops in velocity that most DIY checks miss.
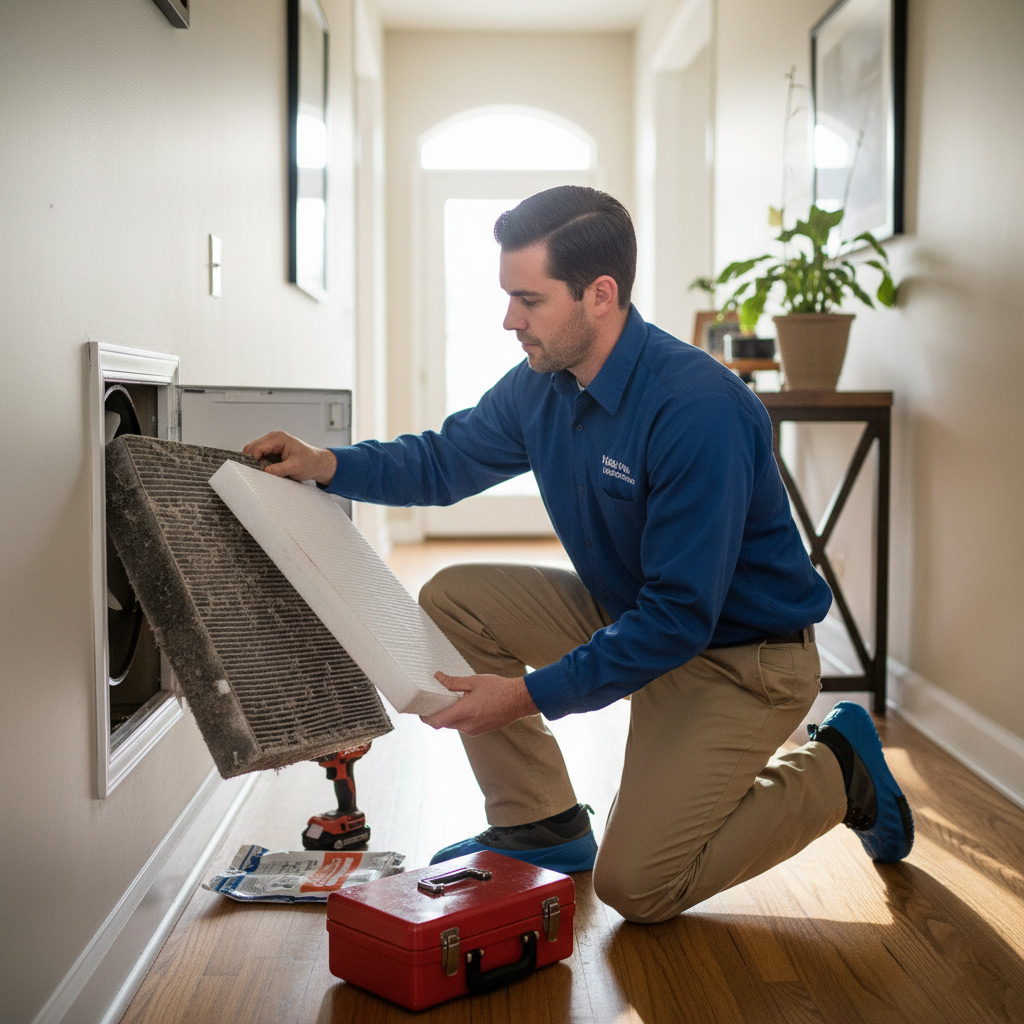
- Pressure drop across the filter – tells you the filter is choking the system.
- Uneven airflow at registers – points to duct leaks or blockages.
- Excessive static pressure – can strain the blower motor and raise utility bills.
Energy Efficiency Checks: How to Spot Waste Before It Costs You
Measure the Load, Not the Guess
First, grab a handheld BTU meter or a simple infrared thermometer. Take a reading at the supply vent and compare it to the return. If the delta is under 15°F, the system is probably leaking air or the coil is dirty.
Next, run the fan on low for five minutes and watch the temperature drop. A sluggish dip means the blower motor is fighting resistance—time to clean the fan blades and check the belt tension.
Ductwork: The Silent Money‑Sucker
Pull back a vent cover and shine a flashlight into the duct. Look for dust clouds, loose connections, or obvious gaps. Those leaks can waste up to 30% of your heating or cooling power.
- Seal gaps with mastic or UL‑rated foil tape.
- Insulate ducts that run through unconditioned spaces.
- Balance the system by closing vents in rarely used rooms.
Thermostat Placement & Smart Settings
A thermostat stuck in direct sunlight or near a draft will send false signals. Relocate it to an interior wall, away from windows and doors.
Finally, enable the “eco” or “away” mode if your unit has it. Set the temperature 2‑3 degrees higher in summer and you’ll shave off a noticeable chunk of the bill without sacrificing comfort.
Common Mistakes in DIY Inspections and How to Avoid Them
Skipping the Thermostat Check
Most homeowners think the thermostat is just a wall‑mounted dial. In reality, it’s the brain of the whole system. Forgetting to calibrate it can make the unit run nonstop or shut down early, driving up your bill.
Quick fix: Pull the cover, verify the voltage with a multimeter, and run a simple “up‑and‑down” test. If the temperature swing is more than 5 °F, replace the sensor.
Neglecting Airflow Measurements
It’s easy to assume the fan is blowing enough air because you can feel a breeze. The truth is, airflow is measured in CFM (cubic feet per minute) and a clogged coil can drop that number dramatically.
Grab a handheld anemometer and take readings at each vent. If any reading is more than 20 % lower than the others, you’ve got a blockage.
DIY Pressure Gauge Missteps
Many DIYers buy a cheap gauge and start guessing the refrigerant level. Without proper training, you can over‑charge the system, causing the compressor to overheat.
- Never guess – use a calibrated gauge that snaps onto the service ports.
- Check the manufacturer’s pressure chart for your exact model and ambient temperature.
- If the reading is off by more than 5 psi, call a certified tech before you risk a costly repair.
Over‑Cleaning the Coils
Scrubbing the evaporator coil with a wire brush sounds thorough, but you’ll likely damage the delicate fins. A damaged coil reduces heat exchange efficiency and can lead to freezing.
Use a soft brush and a coil‑cleaning spray. Rinse gently, then let it dry before restarting the system.
Case Study: Turning a Failing Irving Home HVAC into a Year‑Round Performer
The Situation
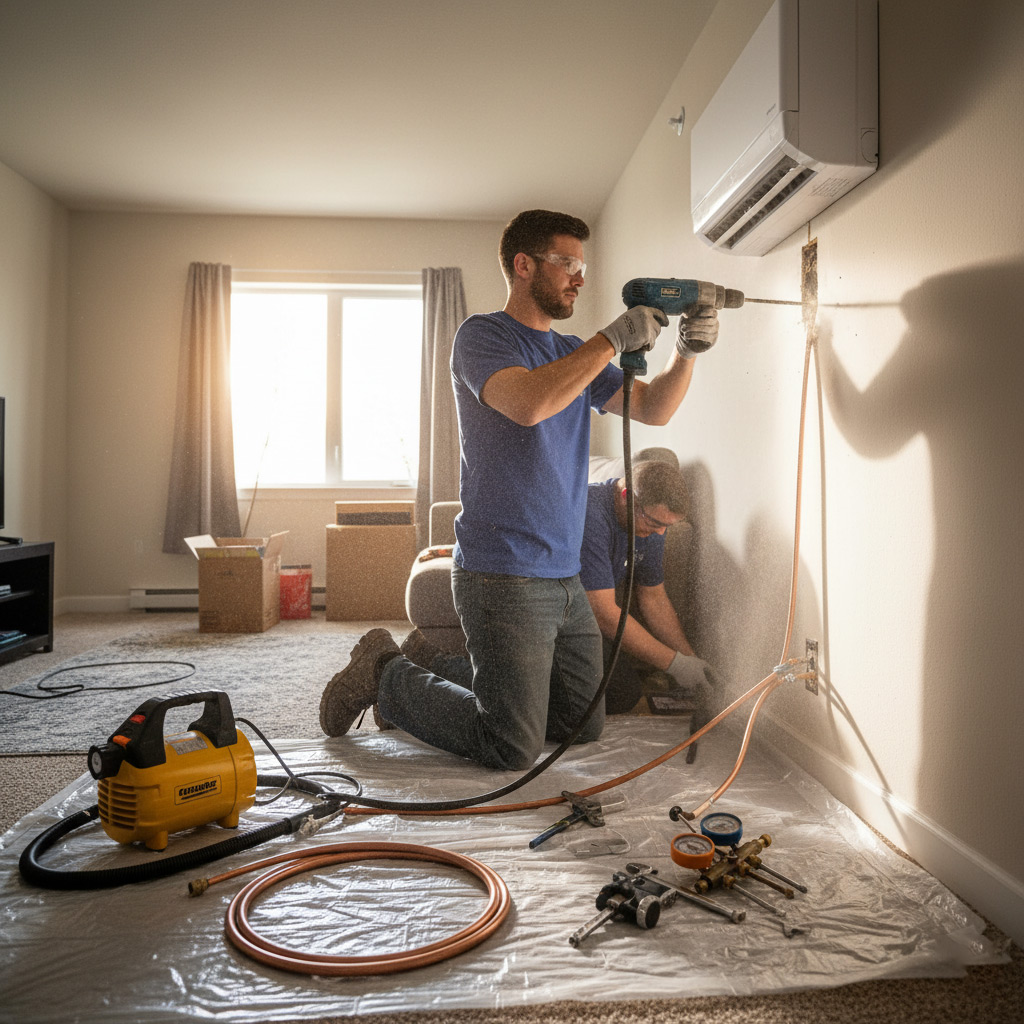
When the Martinez family called, their 3‑year‑old split‑system was sputtering in July and freezing in December. The thermostat read 78 °F while the house felt like a sauna, then dropped to 55 °F the next night.
Our inspection uncovered three red flags:
- Leaky refrigerant line – a hiss that cost the unit up to 30 % efficiency.
- Clogged air filter – forcing the blower to work double time.
- Improperly sized ductwork – creating hot spots and cold drafts.
The Turnaround
We tackled the problems in a logical order, starting with the easy wins.
First, we replaced the filter and sealed the refrigerant leak. Next, we added a variable‑speed blower motor to match the home’s load. Finally, we installed a set of insulated, tapered ducts that balanced airflow.
Key actions:
- Pressure‑tested the line with nitrogen – no more hissing.
- Calibrated the thermostat to a smart schedule that respects Irving’s swing seasons.
- Performed a full system charge, bringing SEER up from 11 to 15.
The Result
Within a week, the Martinez home stayed 72 °F all day, and the electric bill dropped 22 %. The new duct layout eliminated the cold spots in the bedrooms, and the homeowner finally felt confident about the system’s longevity.
Bottom line: a systematic, no‑nonsense approach can rescue a failing HVAC and turn it into a reliable, year‑round performer for any Irving home.
Final Words: Keeping Your Irving Home Comfortable All Year Long
When the Texas sun beats down in July or the wind whistles in December, the one thing you need is a system that doesn’t quit on you. Regular testing and inspection is the cheap insurance policy that pays for itself the moment you avoid a $1,200 repair bill.
Make a schedule, not a guess
Mark your calendar for two key dates:
- Early spring – before the heat spikes.
- Late fall – before the furnace kicks in.
During each visit, ask the tech to run a full airflow check, verify refrigerant pressure, and confirm the thermostat is calibrated. If anything feels off, demand a written explanation.
Stay ahead of the curve
Small habits keep big problems at bay:
- Swap or clean filters every 30‑45 days.
- Clear the outdoor unit of leaves and debris.
- Schedule a professional HVAC Testing and Inspection at least once a year.
These three actions cut energy waste by up to 15% and extend equipment life by years.
Remember, a comfortable home isn’t a luxury—it’s the result of disciplined upkeep. Keep the checklist handy, stick to the timeline, and let the pros handle the heavy lifting. Your wallet and your family will thank you.
People Also Ask
What does a professional HVAC inspection include in Irving, TX?
A certified technician checks the furnace, air conditioner, ductwork, thermostat, and refrigerant levels. They also assess airflow, safety controls, and overall system efficiency.How often should I schedule HVAC testing for my Irving home?
Most experts recommend a full inspection twice a year—once before summer cooling and once before winter heating. This helps catch issues early and maintains optimal performance.Can I detect refrigerant leaks without a professional?
While visual signs like ice buildup or reduced cooling can hint at a leak, only a licensed technician can accurately locate and measure refrigerant loss with specialized tools.What are common red flags that indicate a failing HVAC system?
Unusual noises, inconsistent temperatures, high energy bills, and frequent short‑cycling are warning signs. Ignoring them can lead to costly repairs or total system failure.Is DIY HVAC inspection worth the risk?
DIY checks can identify obvious problems, but they often miss hidden issues such as electrical faults or duct leaks. For safety and warranty compliance, a professional inspection is the safest route.Irving HVAC brings over a decade of professional heating and cooling expertise to the Irving community. Their certified technicians specialize in residential and commercial systems, delivering reliable service tailored to local climate needs. Committed to energy efficiency and customer satisfaction, they keep homes comfortable year‑round.
Need HVAC?
We provide fast, reliable HVAC service to residential and commercial customers in Irving, TX (75014, 75015, 75016, 75038, 75039), completing installations and repairs within hours to keep your space comfortable. Our technicians arrive on schedule and finish the job efficiently, so you can get back to daily life without delay.
Get a Quick Quote