Imagine the thermostat flashing red on a sweltering Irving night—your air conditioner has gone silent, and the heat is creeping in. Most homeowners panic, but the real power lies in knowing what to check before you call a tech.
From a clogged filter to a faulty capacitor, the culprits are usually simple, inexpensive fixes that anyone can spot. When you learn the tell‑tale signs, you stop the money‑draining “call‑out” cycle and keep your home comfortable.
Irving’s climate throws its own curveballs: sudden humidity spikes, dust‑laden winds, and those Texas‑size temperature swings. Understanding how these local quirks affect your system gives you a leg up on the problem before it spirals.
Ready to turn that thermostat’s red warning into a confidence boost? Let’s walk through the exact steps that will let you diagnose—and often solve—HVAC issues like a seasoned pro.
Common HVAC Symptoms in Irving and What They Mean
When the air feels sticky but the thermostat reads 72°, you’re likely battling a clogged filter. A dirty filter chokes airflow, forcing the system to work harder and raising humidity. Result? Higher electric bills and a unit that never quite reaches set temperature.
Typical Red Flags
- Weak airflow – rooms feel drafty, fan sounds louder than usual.
- Frequent short‑cycling – the AC turns on and off every few minutes.
- Ice forming on the coil – a sign of low refrigerant or restricted airflow.
- Unusual noises – rattles, squeaks, or buzzing often point to loose parts or electrical issues.
In Irving’s summer heat, a blowing hot air complaint usually means the compressor is struggling or the refrigerant charge is low. If the unit hums but never kicks on, the capacitor could be dead. Spotting these clues early saves you from a pricey emergency call.
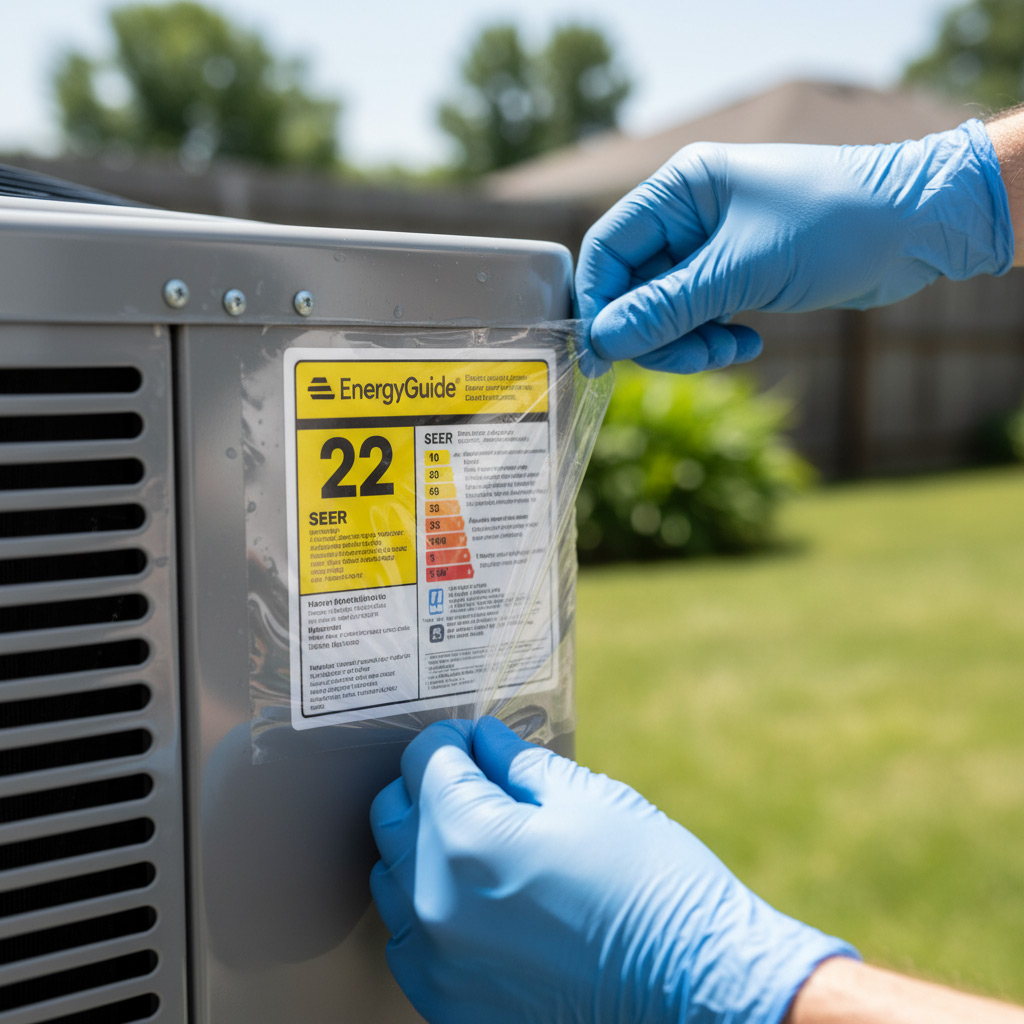
Visual Inspection Checklist: Filters, Vents, and Outdoor Unit
Before you grab a screwdriver, give the system a quick once‑over. A clear line of sight often reveals the problem before any voltage is touched.
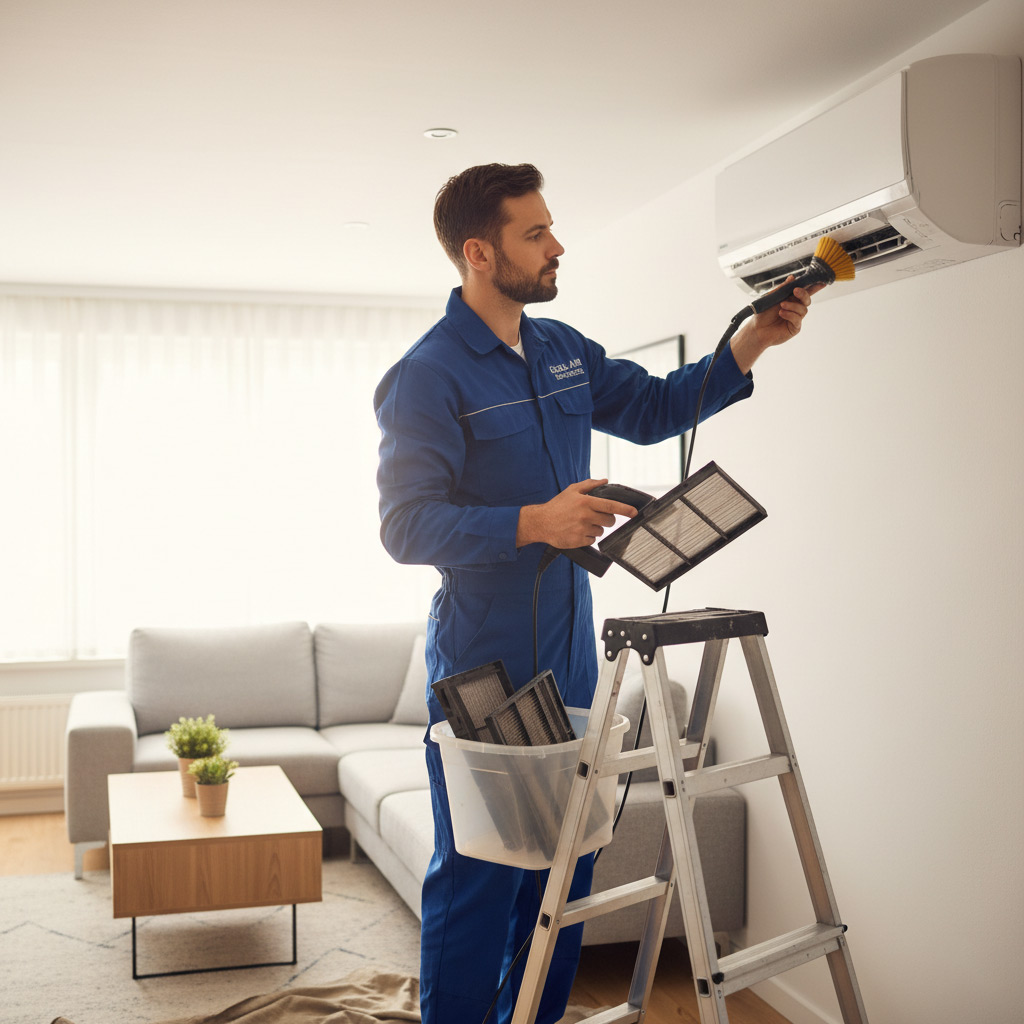
Air Filters – The First Line of Defense
- Check the color. If it looks gray or black, it’s choking the airflow.
- Feel the resistance. Hold the filter up to the light; a dense, dusty surface means it’s time for a swap.
- Replace every 1–3 months in Irving’s dusty climate, or sooner if you have pets.
A clean filter restores pressure, cuts energy use, and can stop a failing compressor from overworking.
Supply & Return Vents – Keep the Path Open
- Make sure no furniture or boxes block the registers.
- Remove any visible debris; a quick vacuum does wonders.
- Inspect the duct grilles for bent or crushed sections that could restrict flow.
Even a small obstruction can cause uneven cooling and force the blower to work harder.
Outdoor Condenser Unit – The Unsung Hero
- Turn off power, then pull away any leaves, twigs, or spider webs from the coil.
- Check the fan blades for bends; a straight blade spins smoothly.
- Look for obvious signs of corrosion or rust on the copper lines.
When the outdoor unit breathes freely, the indoor side can do its job without a fight.
Electrical Diagnostics: Testing Capacitors, Relays, and Thermostats
Capacitor Check – The Heartbeat of Your Compressor
First, turn off power at the breaker. Never work on a live unit.
Remove the capacitor cover and look for bulging or leaking. A visual cue often tells the whole story.
Use a multimeter set to µF. Compare the reading to the rating printed on the capacitor. If it’s off by more than 10 percent, replace it.
Relay Inspection – The Switch That Keeps Things Moving
Relays sit in the control board and click when they engage. Listen for that click; a silent relay is a red flag.
Pull the relay out and test continuity with a multimeter. No continuity means the relay is dead.
While you’re at it, wipe away any dust that could cause overheating.
Thermostat Troubleshooting – Your System’s Brain
Start by confirming the thermostat is set to “cool” and the temperature is lower than the room.
Check the batteries; a weak cell can send false signals.
Use the “bypass” method: connect the thermostat’s “R” and “Y” wires together. If the AC kicks on, the thermostat is the culprit.
- Turn off power before any wiring work.
- Label wires with masking tape to avoid mix‑ups.
- Document your readings; they help the pros if you need a call‑out.
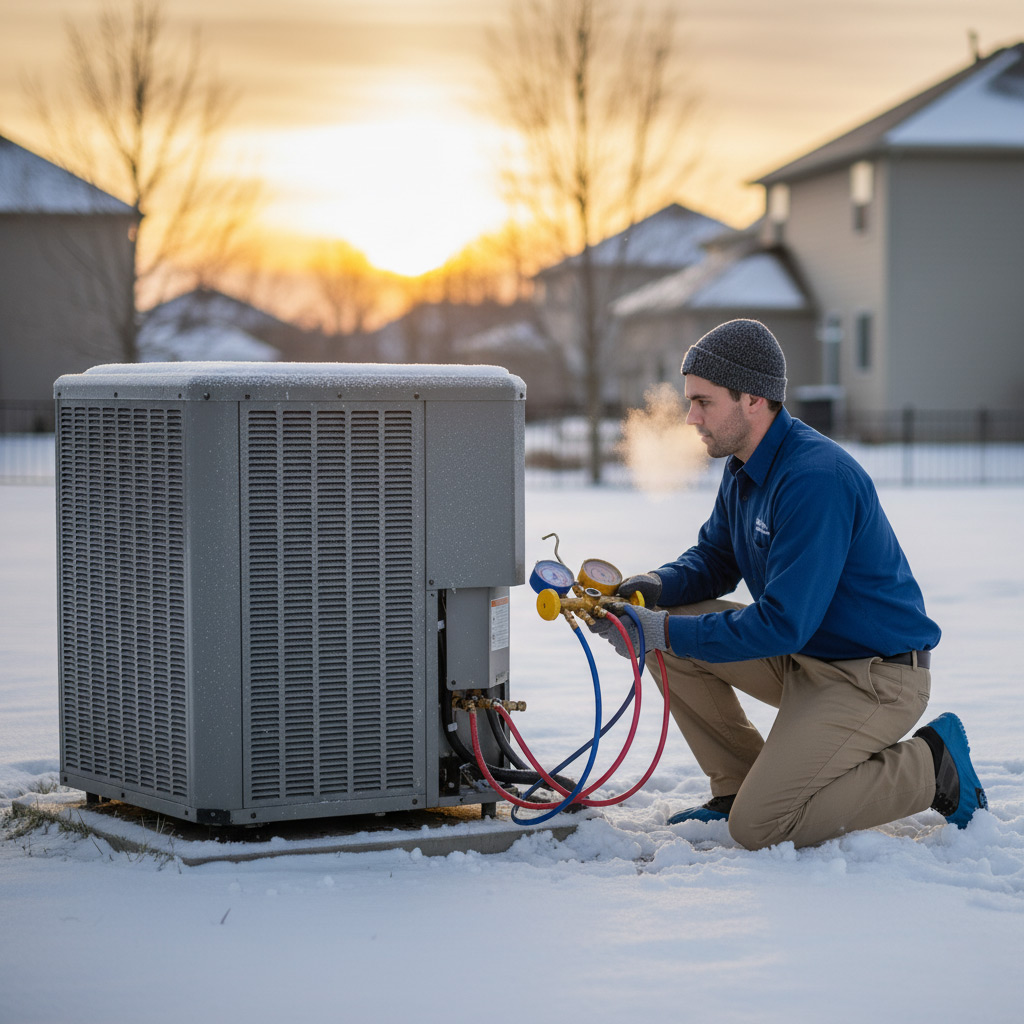
Refrigerant and Coil Troubleshooting: Leaks, Pressures, and Frost
Low‑Pressure Symptoms
When the refrigerant charge drops, the AC struggles to pull heat out of your home. You’ll notice weak airflow, a warm‑blowing unit, and the thermostat fighting to stay cool.
Key clues include a hissing sound near the lines and a noticeable dip in the low‑side pressure gauge—usually below 60 psi in Irving’s summer heat.
- Check the gauge while the system is running.
- Compare readings to the manufacturer’s spec sheet.
- If it’s low, the culprit is almost always a leak.
Frost on the Evaporator
Ice forming on the coil isn’t just a winter thing; it’s a red flag that the refrigerant cycle is out of balance. Too much moisture, a dirty coil, or a stuck blower can all cause frost to blanket the evaporator.
Turn the fan off for a few minutes—if the frost melts quickly, you’re dealing with excess moisture. If it lingers, the coil is likely clogged or the refrigerant pressure is too low.
- Inspect the coil for dust and debris.
- Clean with a soft brush or low‑pressure spray.
- Replace the filter if airflow is restricted.
Finding Leaks
Detecting a refrigerant leak is part science, part detective work. Start with a visual sweep for oily spots on copper tubing—oil follows refrigerant like a breadcrumb trail.
Next, grab a leak detector or apply a soap‑solution bubble test. Bubbles mean gas escaping, and you’ll know exactly where to patch or replace.
- Seal minor leaks with a refrigerant‑compatible epoxy.
- For larger breaches, replace the affected line.
- Never recharge the system without fixing the leak first—otherwise you’ll be back at square one.
Weather‑Related Impacts: Humidity, Dust, and Temperature Swings in Irving
Humidity – the silent thief
Irving’s summer humidity can turn a healthy coil into a soggy mess. When moisture settles on the evaporator, it *reduces* heat exchange and invites mold growth. Look for these tell‑tale signs:
- Frost on the coil that won’t melt – the system is working harder than it should.
- Sticky, musty smell from the vents – a sign of mildew brewing.
- Higher energy bills with no change in thermostat settings.
Fix it fast: replace the filter, run the fan on “auto,” and consider a dehumidifier in the basement.
Dust – the gritty saboteur
Dust storms from the Dallas‑Fort Worth corridor love to settle on outdoor units. A layer of grit blocks airflow, forces the compressor to overheat, and can short‑circuit electrical components. Spot the problem by:
- Checking the outdoor condenser for a gray film.
- Feeling reduced airflow from registers.
- Listening for the compressor humming louder than usual.
Give the unit a gentle brush‑down, clear the surrounding area, and schedule a quarterly cleaning.
Temperature Swings – the roller‑coaster effect
Irving’s spring and fall can swing from 55°F to 85°F in a day. Rapid changes make the thermostat chase its tail, and the system may cycle on and off too quickly. This “short‑cycling” wears out parts and spikes your bill.
Combat the swing by:
- Setting the thermostat to a steady 72°F and letting the system do its job.
- Using a programmable thermostat to smooth out peaks.
- Ensuring proper insulation around ducts to keep the air stable.
Case Study: Rapid Resolution of a Failing AC Unit in a North Irving Home
The Situation
When the Johnson family noticed their living room turning into a sauna at 7 p.m., the thermostat flashed red and the unit sputtered before shutting down. They called us, but we asked them to check a few things first—time is money, after all.
Within minutes, they reported:
- Filter visibly dirty, barely letting air through.
- Outdoor condenser fan running, but the indoor blower silent.
- Thermostat still set to “Cool” with a 72°F target.
The Diagnosis
Our tech arrived, grabbed the thermostat, and saw a low‑voltage error code. A quick voltage test on the capacitor revealed it was dead—no spark, no charge. Meanwhile, the indoor coil was frosted over, a classic sign of low refrigerant pressure.
We confirmed two culprits:
- Capacitor failure preventing the compressor from starting.
- A tiny refrigerant leak that let the system lose pressure fast.
The Fix
We swapped the capacitor with a new, correctly rated unit and used a leak‑detect spray on the coil connections. The spray bubbled at a joint near the suction line—easy to seal with a refrigerant‑compatible epoxy.
After recharging the system to the manufacturer’s specs, the indoor blower roared back to life. The Johnsons felt a cool breeze within ten minutes, and the thermostat finally displayed a steady green.
Final Words
Now that you’ve got the checklist in hand, treat your HVAC system like a car—regular eyes on the gauges keep the breakdowns rare. Keep a spare filter, a multimeter, and a notebook of pressure readings in the garage; the habit alone saves you from surprise heat waves.
What to Do When DIY Hits a Wall
- Double‑check power: reset breakers and verify the thermostat is on cool mode.
- Listen for the compressor’s hum; silence often means a bad capacitor.
- Measure suction and discharge pressures; out‑of‑range numbers point to a leak or low refrigerant.
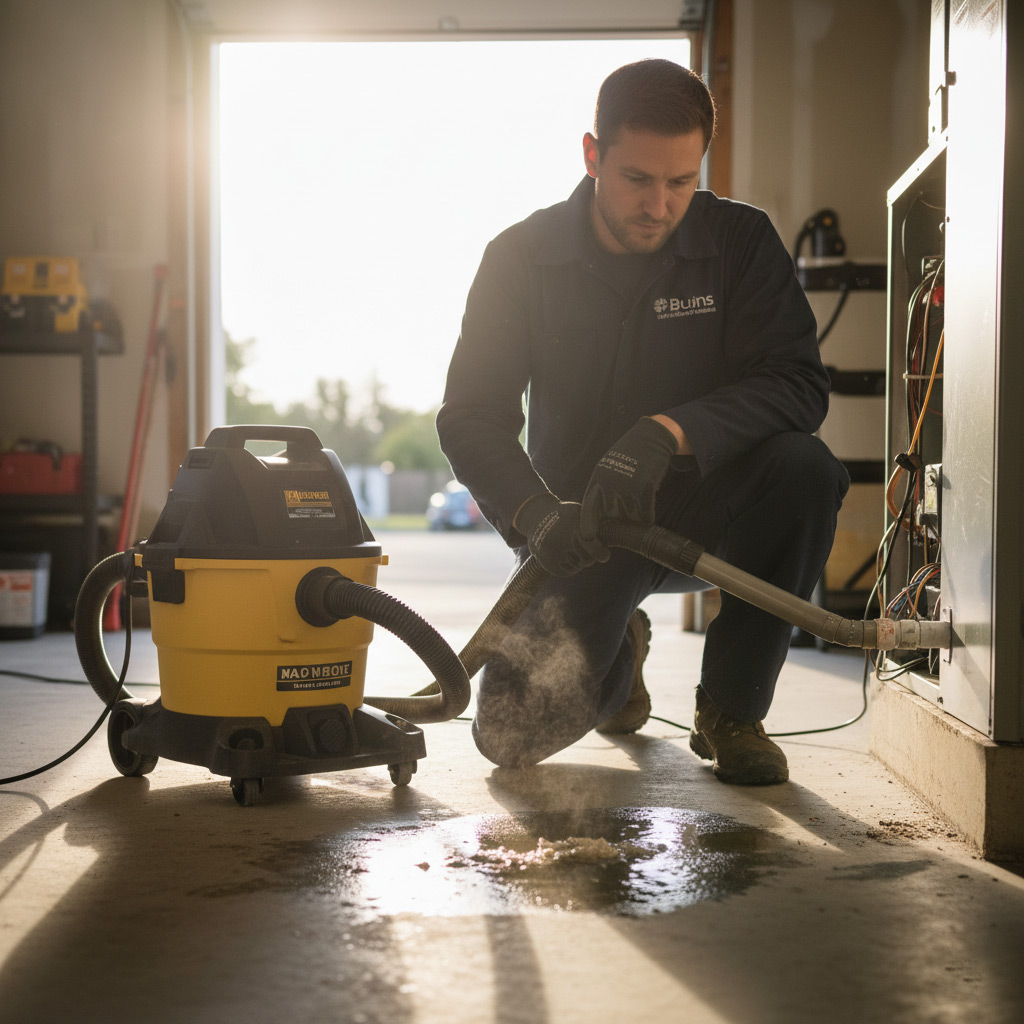
- Inspect the condensate line for clogs—clear it with a wet‑vac if water backs up.
If you’ve run through the list and the unit still refuses to cooperate, it’s time to call in the pros. Our certified technicians in Irving specialize in the exact issues you’ve just diagnosed, from hidden coil leaks to complex electrical faults. Schedule a HVAC troubleshooting service today!
People Also Ask
What are the most common HVAC symptoms homeowners notice in Irving, TX?
Homeowners often report uneven temperatures, weak airflow, and frequent short‑cycling of the system. These signs usually point to clogged filters, refrigerant issues, or thermostat malfunctions.How can I perform a quick visual inspection of my HVAC system before calling a technician?
Start by checking the air filter and replacing it if it’s dirty, ensure all vents are open and unobstructed, and look at the outdoor unit for debris or obvious damage. A clear visual check can reveal many simple problems that are easy to fix.What electrical components should I test if my AC won’t turn on?
Focus on the capacitor, relay, and thermostat, as they are the most common failure points. Use a multimeter to check for proper voltage and continuity, and replace any component that shows abnormal readings.How do refrigerant leaks affect AC performance in Irving’s climate?
A leak reduces cooling efficiency, causing the system to run longer and increase energy bills. It can also lead to low pressure on the low‑side coil, resulting in frost buildup and eventual compressor damage.Why does my AC freeze up during humid summer days in Irving?
High humidity can cause excess moisture on the evaporator coil, especially if airflow is restricted or refrigerant levels are low. This leads to ice formation, which blocks airflow and further reduces cooling capacity.Irving HVAC brings over 15 years of residential and commercial climate‑control expertise to the Irving community. Their team of certified technicians delivers reliable heating, cooling, and indoor‑air‑quality solutions tailored to local needs. Committed to responsive service, Irving HVAC ensures comfort and efficiency for homes and businesses throughout the area.
Need HVAC?
We provide fast, reliable HVAC service to residential and commercial customers in Irving, TX (75014, 75015, 75016, 75038, 75039), completing installations and repairs within hours to keep your space comfortable. Our technicians arrive on schedule and finish the job efficiently, so you can get back to daily life without delay.
Get a Quick Quote